Install RBoot on Dell OptiPlex 7010/9010/T1650 SFF/MT
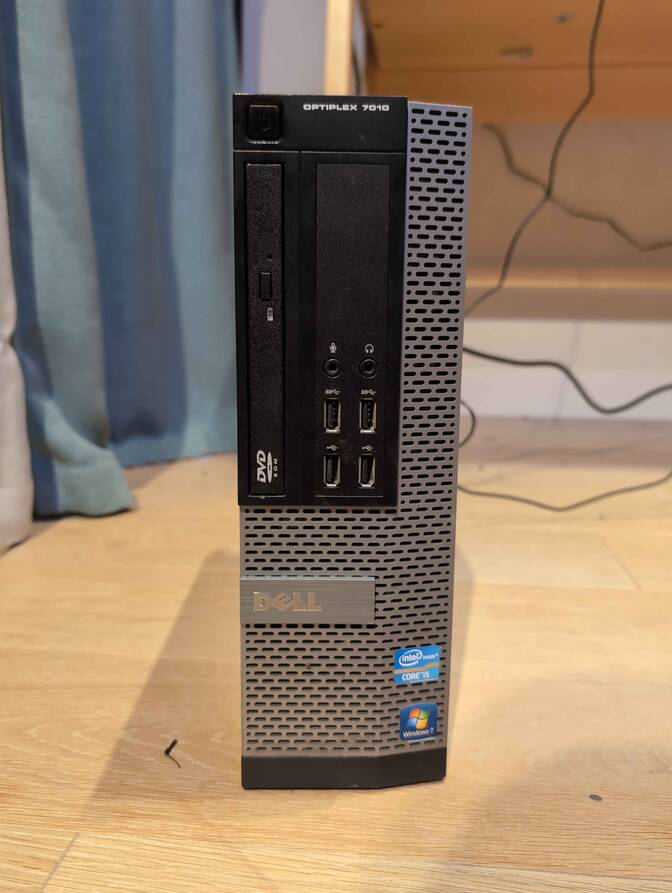
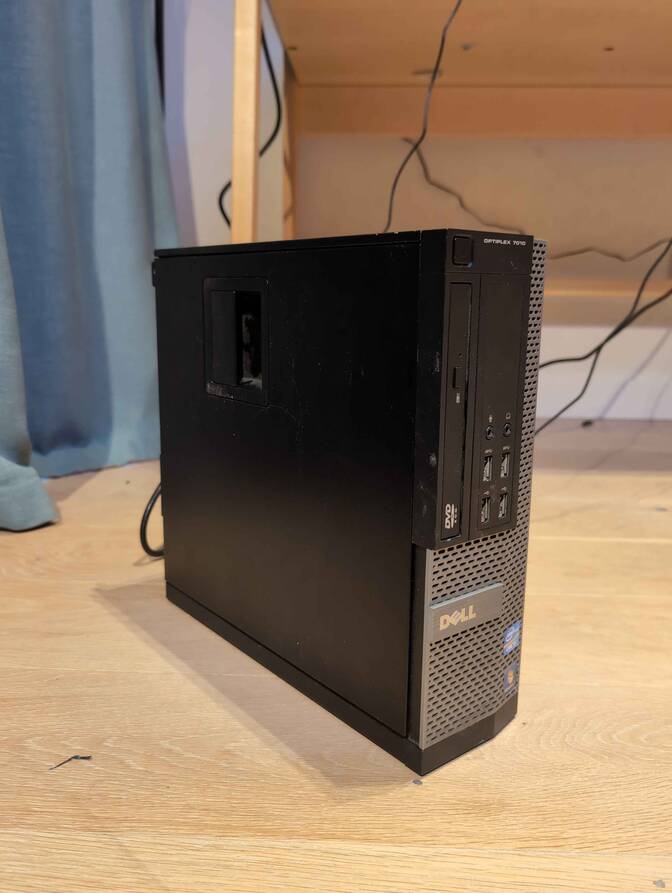
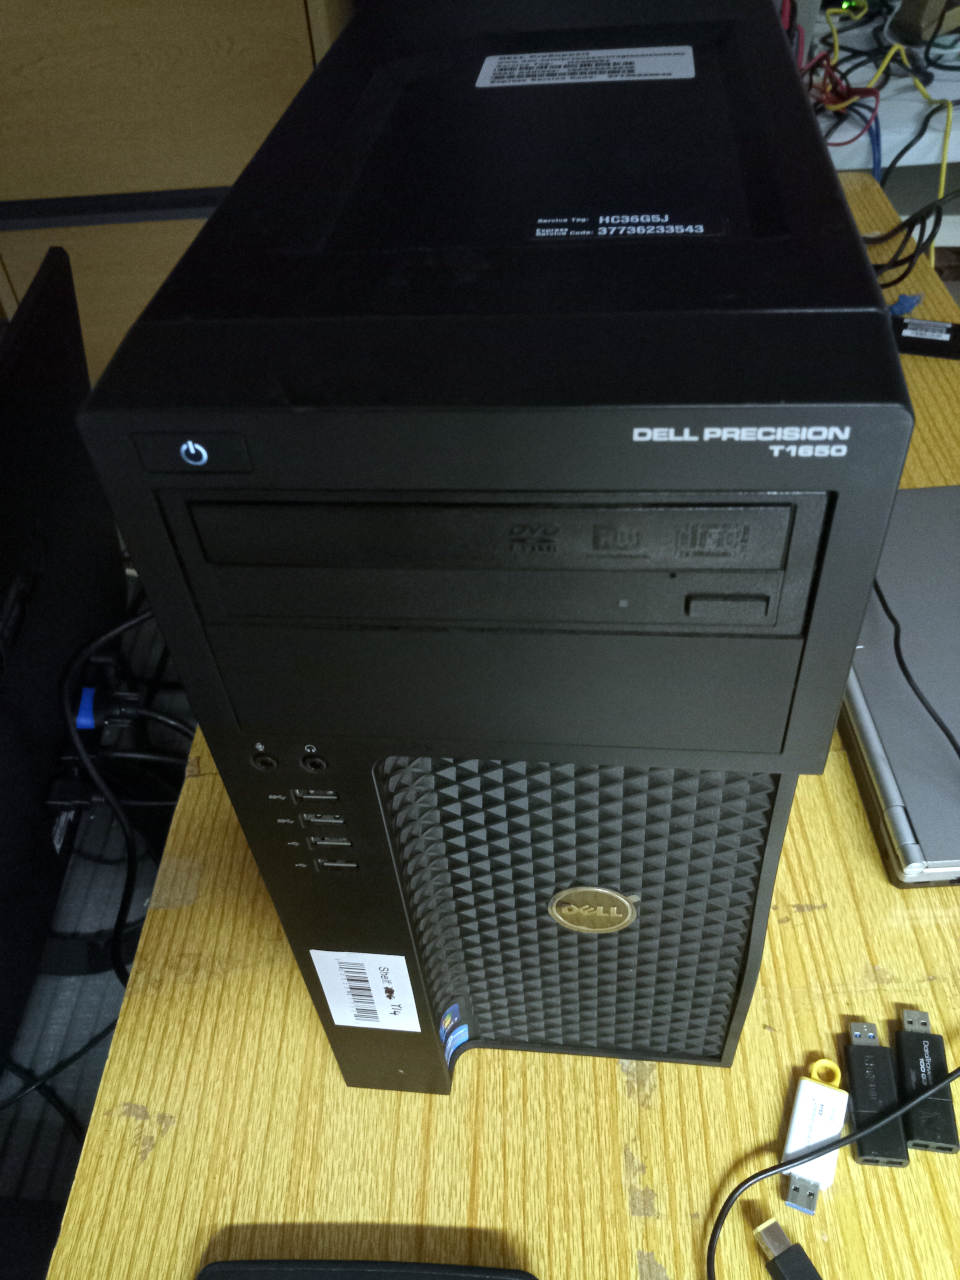
| Specifications | |
|---|---|
| Manufacturer | Dell |
| Name | OptiPlex 9010 SFF/MT |
| Variants | OptiPlex 7010/9010/T1650 SFF/MT |
| Released | 2012 |
| Chipset | Intel Q77/C216 (T1650 MT) |
| CPU | LGA 1155, Intel Ivy/Sandy Bridge |
| Graphics | Intel HD 3000/4000 |
| Memory | 32GB DDR3 SODIMMs (4x8GB), ECC T1650 |
| Architecture | x86-64-v2 (+ older) (v1 for Sandy) |
| Original boot firmware | Dell UEFI firmware |
| Intel ME/AMD PSP | Present. |
| Flash chip | SOIC-16 or SOIC-8 12MiB (96Mbit) |
Get the ROM image
Download from release
Build from source
For the 7010/9010 SFF variants:
./mk -b coreboot dell_optiplex_7010_sff_12mb_uefiFor the 7010/9010/T1650 MT variants:
./mk -b coreboot dell_precision_t1650_12mb_uefiInternal/Software Flashing
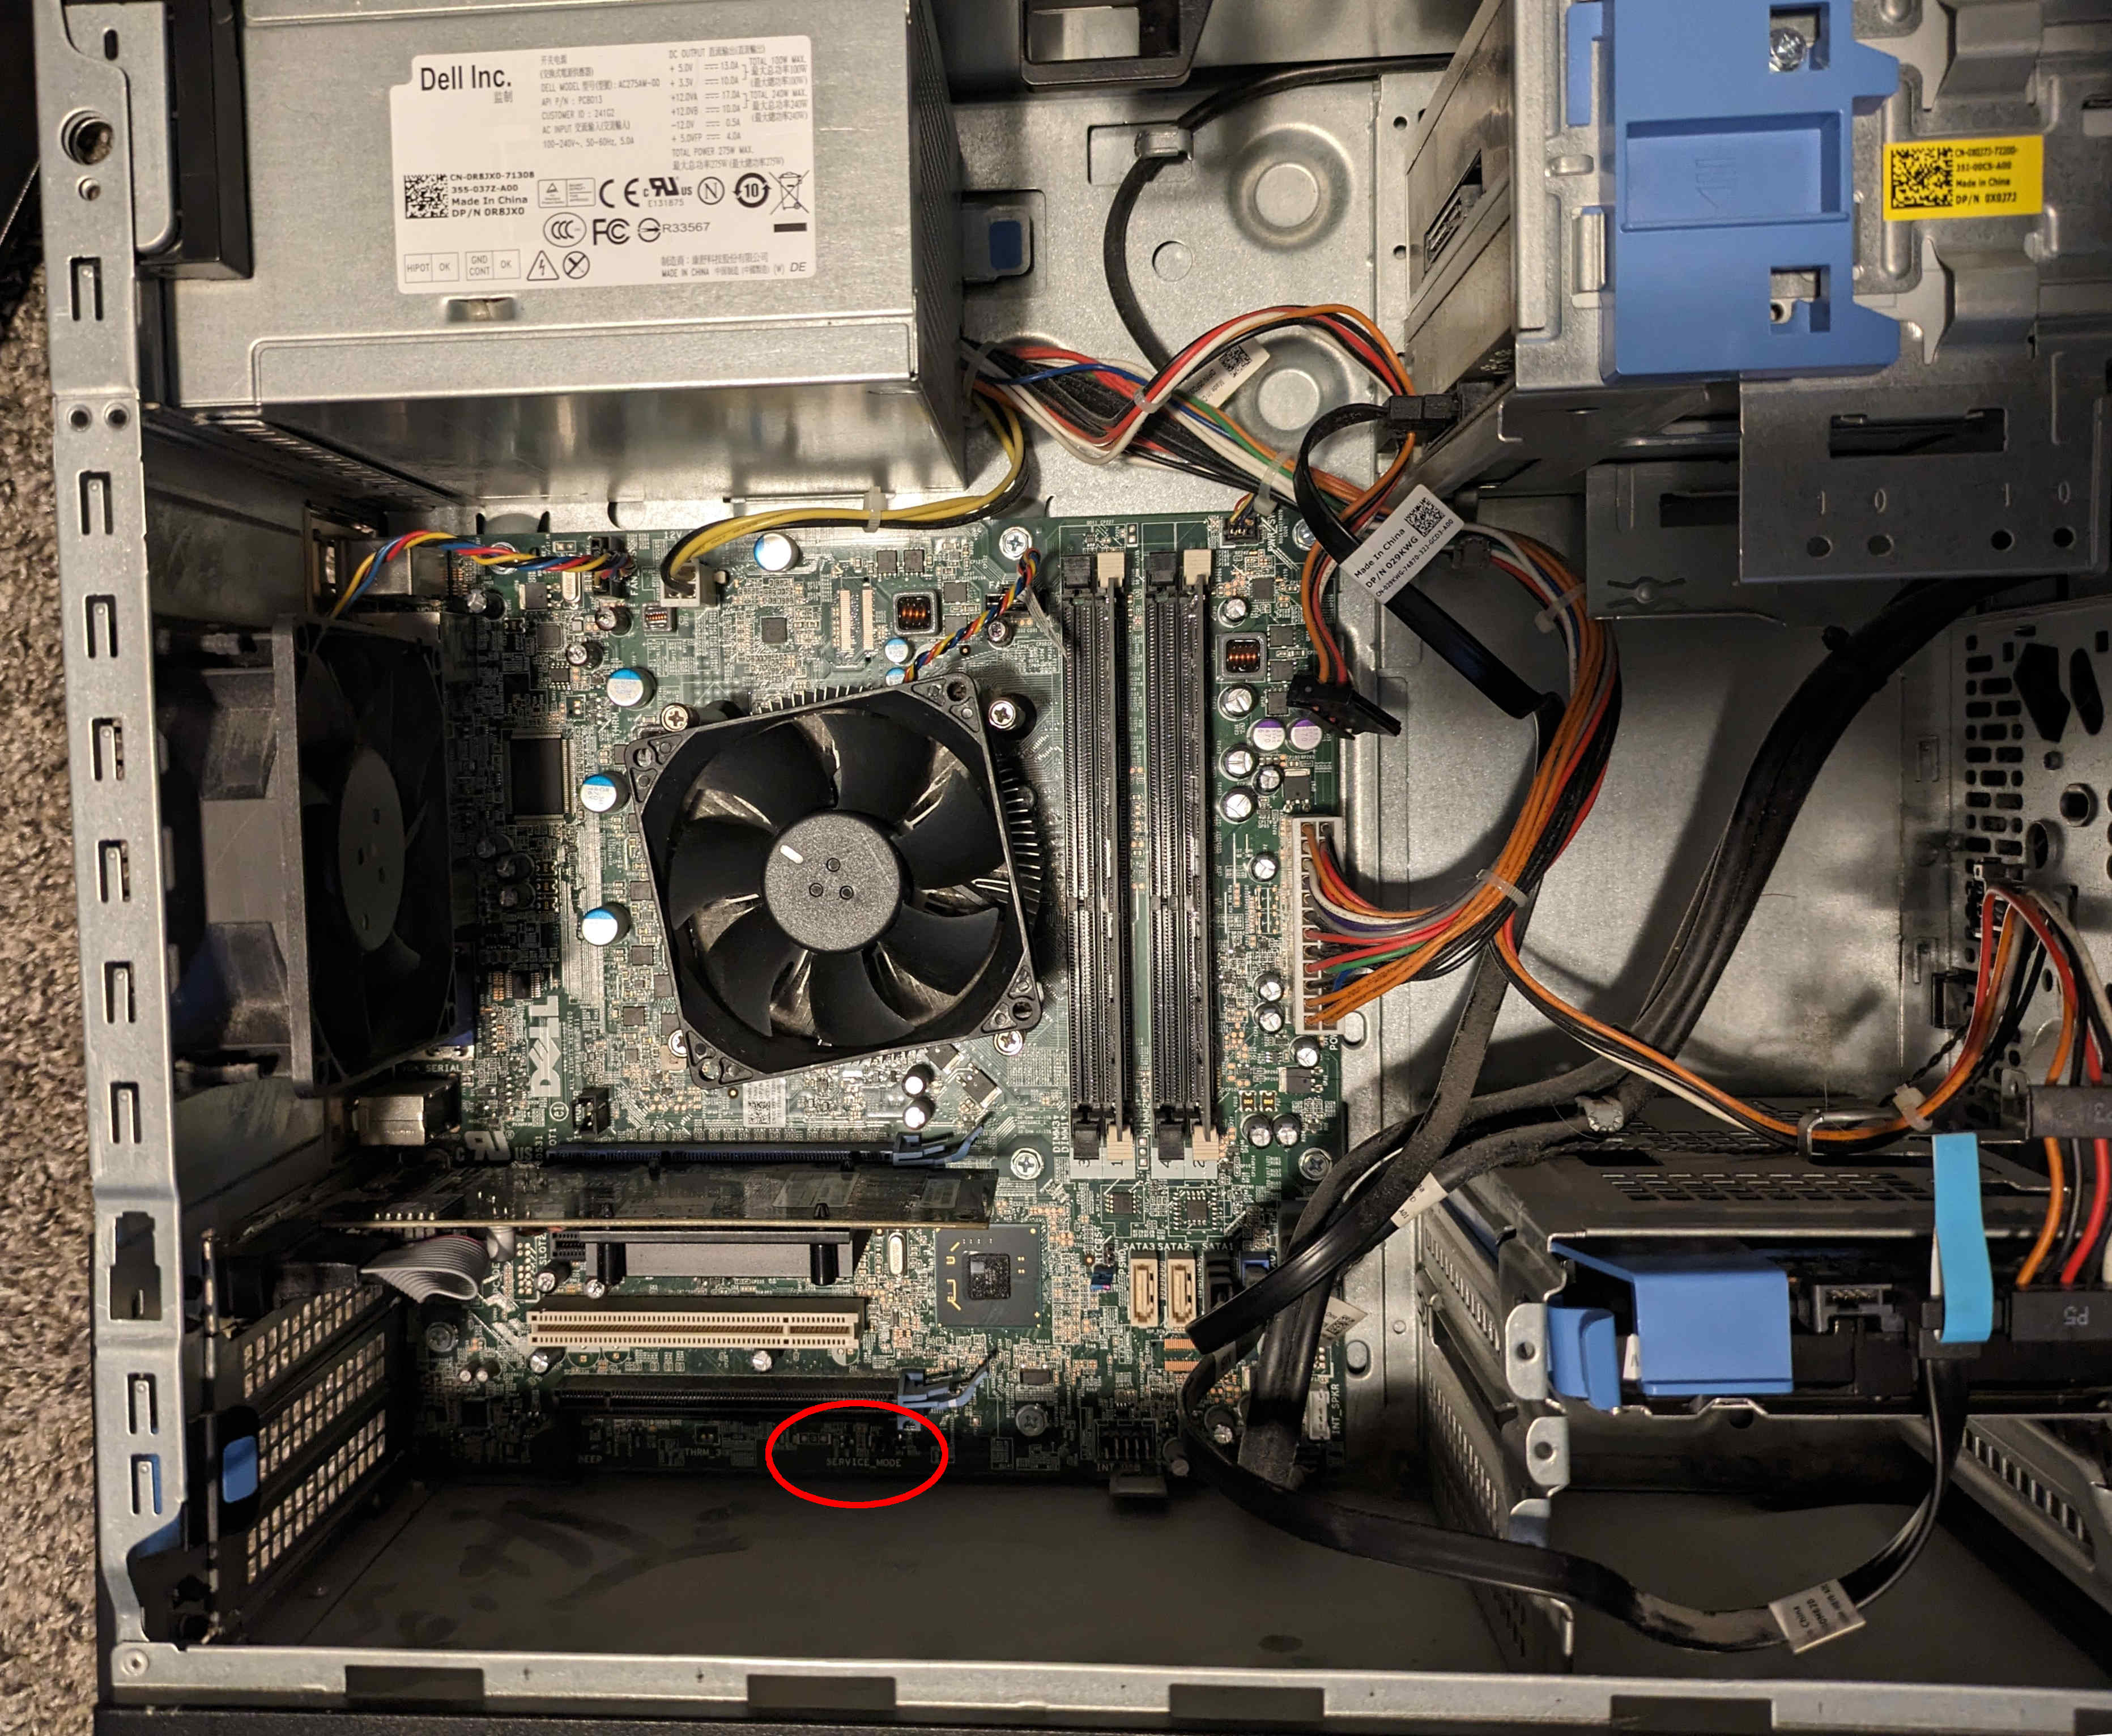
Possible from the factory BIOS, if you set the service mode jumper. This shorts HDA_SDO (Soft Descriptor Override), which disables the ME after early bringup and disables IFD-based flash protections.
Just short the service jumper when booting and all flash protection is disabled.
Note: The Dell BIOS can write EFI variables to flash when shutting down, which could corrupt the newly flashed RBoot ROM and render the system unusable. To prevent this, after flashing internally from the original Dell BIOS, remove power from the computer instead of shutting it down normally. It’s recommended to use a live USB instead of the internal drive to prevent potential filesystem corruption.
For 7010/9010 SFF:
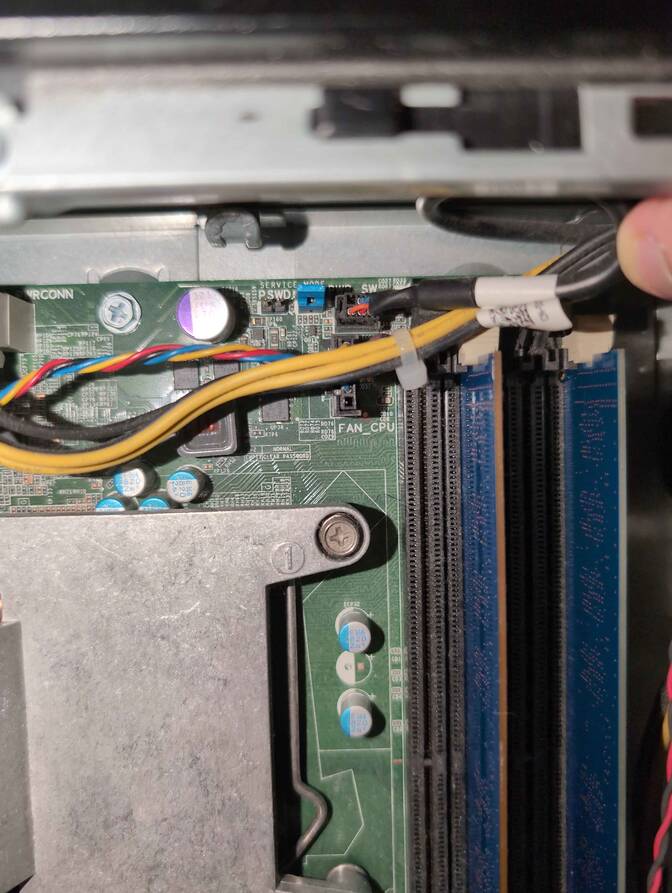
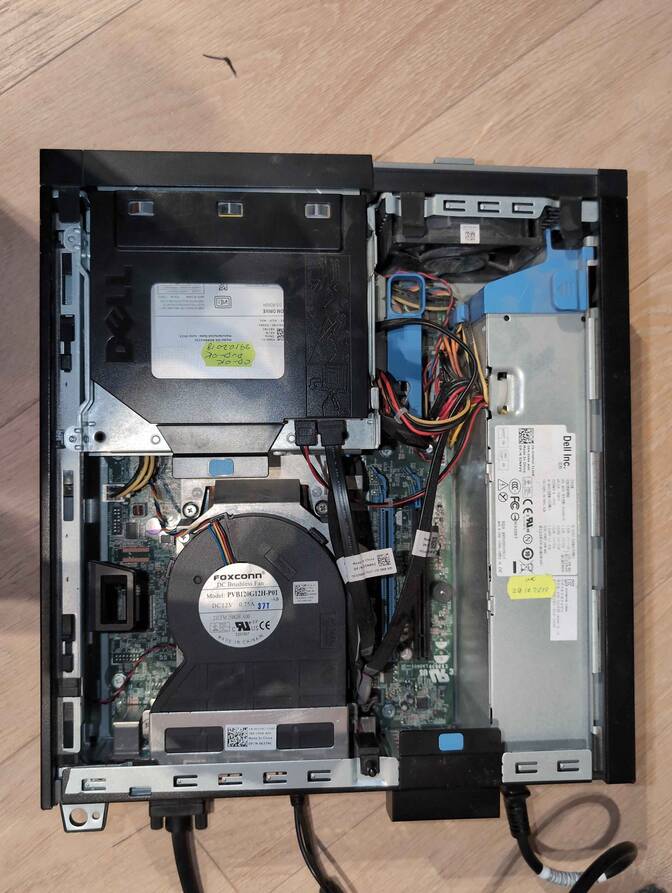
It’s near the RAM, under where the HDD goes (click the photos shown above).
For 7010/9010/T1650 MT:
Observe, below the PCI slots:
Here is a close-up:
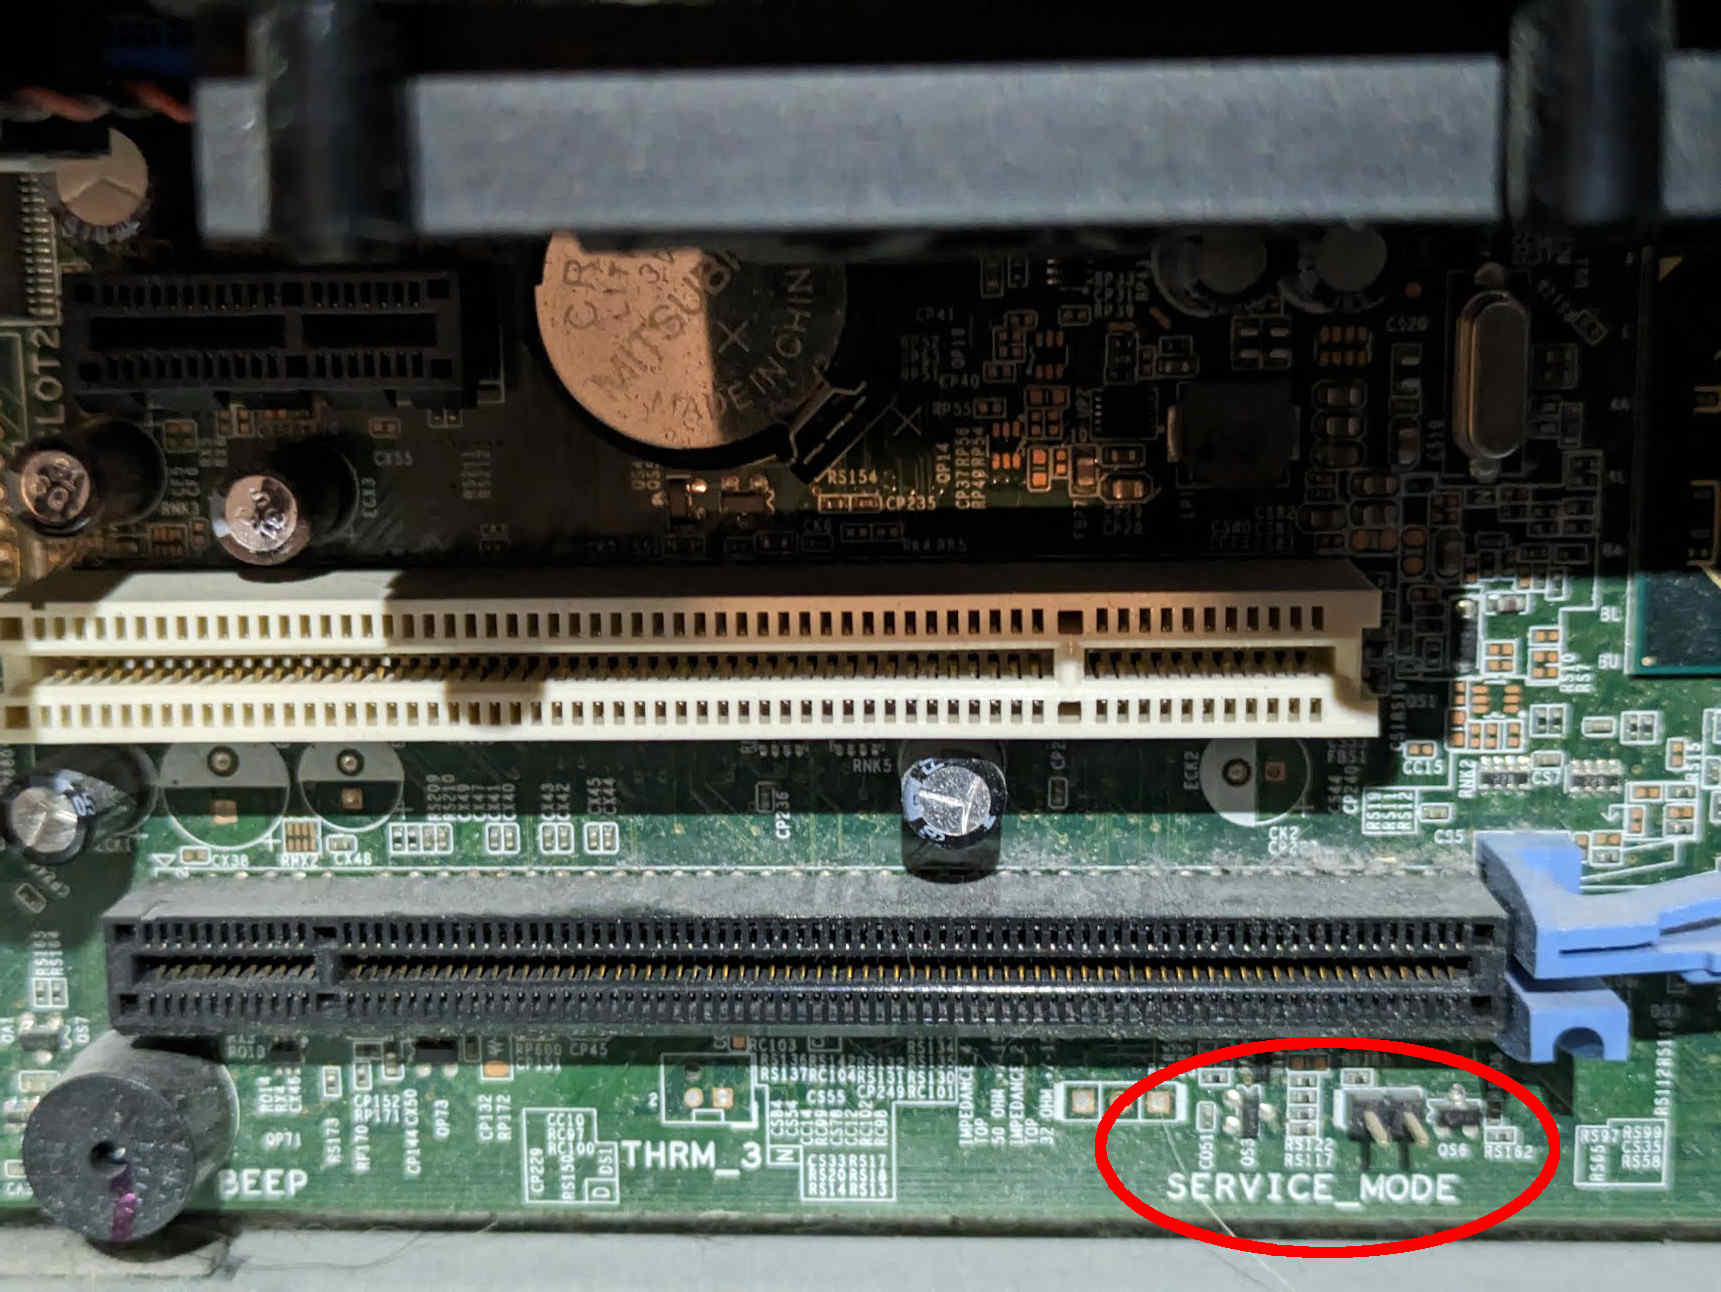
After the jumper set, follow the guide to backup and flash.
External/Hardware Flashing
REMOVE all power sources and connectors from the machine, before doing this. This is to prevent short circuiting and power surges while flashing.
Check the hw-flashing guide before moving onto the next step below.
This machine is somewhat cumbersome to flash, because it has a SOIC-16 flash for the first 8MB part, and 4MB SOIC8. You can split up your 12MB ROM image like so:
dd if=rboot.rom of=4mb.rom bs=1M skip=8
dd if=rboot.rom of=8mb.rom bs=1M count=8
Please only flash the IFD and BIOS regions. The CBFS size is 4MB, so you can just flash the 4MB image to handle the BIOS region, and then use the --ifd option in flashprog to flash just the IFD region in the 8MB chip, for disabling Intel ME by setting the IFD’s HAP bit.
The side cover comes off easily, and you can find the flash ICs next to the RAM.
No photos yet, but the two flash ICs are next to each other, and near to where the PCH is.
Flash it: (With rpi-pico as an example, edit the line if needed.)
flashprog -p serprog:dev=/dev/ttyACM0,spispeed=16M -w filename.romSet MAC address
This platform uses an Intel Flash Descriptor, and defines an Intel GbE NVM region. As such, release/build ROMs will contain the same MAC address. To change the MAC address, please read nvmutil documentation.
ECC Memory Support
(Unregistered) ECC memory works with Pentium/celeron & xeon e3 v1/v2 cpus on T1650 MT only.
ECC allows for more stable desktop experience (especially for prolonged usage) and ensuring data integrity with error corrections and mitigating certain defects that develop over time in the RAM (it will not account for all defects, and memory always needs to be replaced eventually)
list of Compatible 3rd gen. Pentium and Celeron & Compatible 3rd gen. Xeons v2 & Compatible 2nd gen. Xeons v1
Custom Mods
MT case modification to fit bigger gpu/accelerators
Power On pin layout if the motherboard is inserted into a non-dell oem tower
Expanded_Specifications
Markdown file for this page: https://rboot.org/docs/install/dell7010.md
This HTML page was generated by the Rboot Static Site Generator.